Make flexibility do the locking
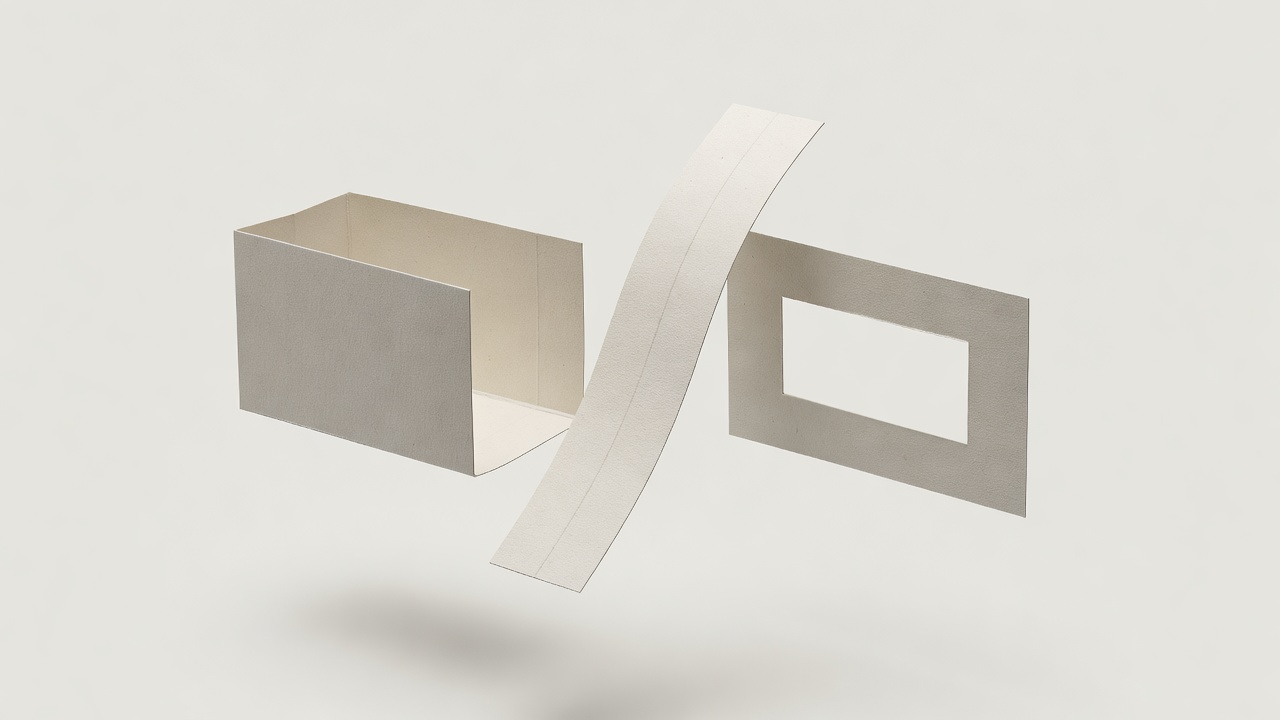
Your finished object looks like a narrow paper envelope with a tab sticking out. Pulling the tab does not release the inner strip: a small tongue rises into a window in the sleeve and catches its edge. Press the tongue through the window while pulling, and the strip slides free. This is an interlock, not a friction fit. The difference matters because the correct action should feel clearly different from simply pulling harder.
The first prototype should reveal its mechanism. Only add an outer cover once you understand where the tongue bends and how much clearance it needs. Paper mechanisms share ideas with movable books and paper engineering; Robert Sabuda and David A. Carter offer well-known examples of the wider craft, although this build uses a slider rather than a pop-up scene.
Choose a useful sheet
Use one clean A4 sheet of firm paper or thin card, ideally around 160–200 gsm. ISO 216 defines A4 as 210 × 297 mm, leaving plenty of room for these parts. An old presentation cover or a clean packaging insert can work. Ordinary printer paper is useful for testing the geometry, but its tongue may soften after repeated bends.
- Cut a sleeve blank 120 × 100 mm.
- Cut a slider 140 × 35 mm.
- Keep the remaining paper for an optional cover and a reinforcement patch.
- Gather scissors, a ruler, pencil, paper glue and a blunt tool for pressing folds.
Adults should handle any cuts that need a craft knife. You can avoid a knife by gently folding the paper at a window location and starting the opening with scissors. Do not use a sharp point to score folds on your hand or lap.
Build a sleeve with breathing room
1. Fold the sleeve
Along the 100 mm side of the sleeve blank, mark panels of 40 mm, 40 mm and 20 mm. The 120 mm dimension is its length. Fold along those marks to form a flattened tube with a 20 mm overlap. Glue the overlap to the outside face, keeping glue away from the interior channel. Leave both short ends open.
Before the glue dries, pass the plain slider through the sleeve to check its path. The 35 mm slider should have a little side clearance inside the approximately 40 mm-wide channel. Remove it while the glue cures. A snug sleeve may look tidy but will disguise the release action with unwanted friction.
2. Make the tongue
Choose one end of the slider as the leading end. About 35 mm back from it, cut a U-shaped tongue, roughly 12 mm wide and 18 mm long, centered across the strip. Orient the U so the tongue remains attached at the side nearest the leading end; its free edge points toward the handle. Bend the tongue gently upward at its attached edge.
Start with only a small lift. The tongue must flatten as it enters the sleeve, then spring up once it reaches the window. A sharply creased hinge may stay flat; a broad, gentle bend usually retains more spring.
3. Locate the catch window
Slide the strip in, leading end first, until about 25 mm of handle remains outside. Lightly mark where the raised tongue rests beneath the upper sleeve face. Remove the strip and cut a window slightly wider and longer than the tongue. Reinsert it and check that the free edge rises into the opening.
Pull gently. The free edge should catch the window edge nearest the handle. Press the tongue down with a fingertip and pull again. If it still catches, enlarge the window a little or reduce the tongue’s lift. Never solve a paper jam by increasing force.
Hide the instruction, not the evidence
Once the open mechanism works, add a loose outer cover with a small finger-access opening above the tongue. Print or draw a dot near the opening to provide a fair clue. Keep the cover separate from the slider and avoid gluing across the moving channel. The solver should discover “press here while pulling,” not have to tear apart your construction.
Reset the lock
Push the slider slowly into the sleeve until the tongue rises into its window. Tug lightly to confirm engagement. If it does not engage, remove the strip and restore the tongue’s gentle bend.
Repair a tired paper spring
Replace the slider rather than adding layers everywhere. A small patch can reinforce a torn window edge, but a thickened tongue may no longer flatten enough to release.
Make a second slider with a narrower tongue and compare the feel. Change only one feature at a time. Paper grain, humidity and repeated folding all affect springiness, so treat the dimensions as a starting geometry rather than a guarantee.
The finished puzzle makes a good reusable message holder. Place a short clue on the slider’s hidden end, not a valuable item inside the sleeve. When you want a sturdier version of a concealed catch, move the idea into a wooden box and let gravity replace the paper spring.